With EasyCalendar, you can manage your meetings and appointments. Settings of Calendar help to connect you with your customer. You share your link with your clients, and they can pick a time to meet with you.
As soon as you log in to your EasyCalendar Account and head over to My Calendars, you will see all your Calendars listed there.
The MyCalendars section is divided into separate rows for One-on-One Calendars and Team Calendars:
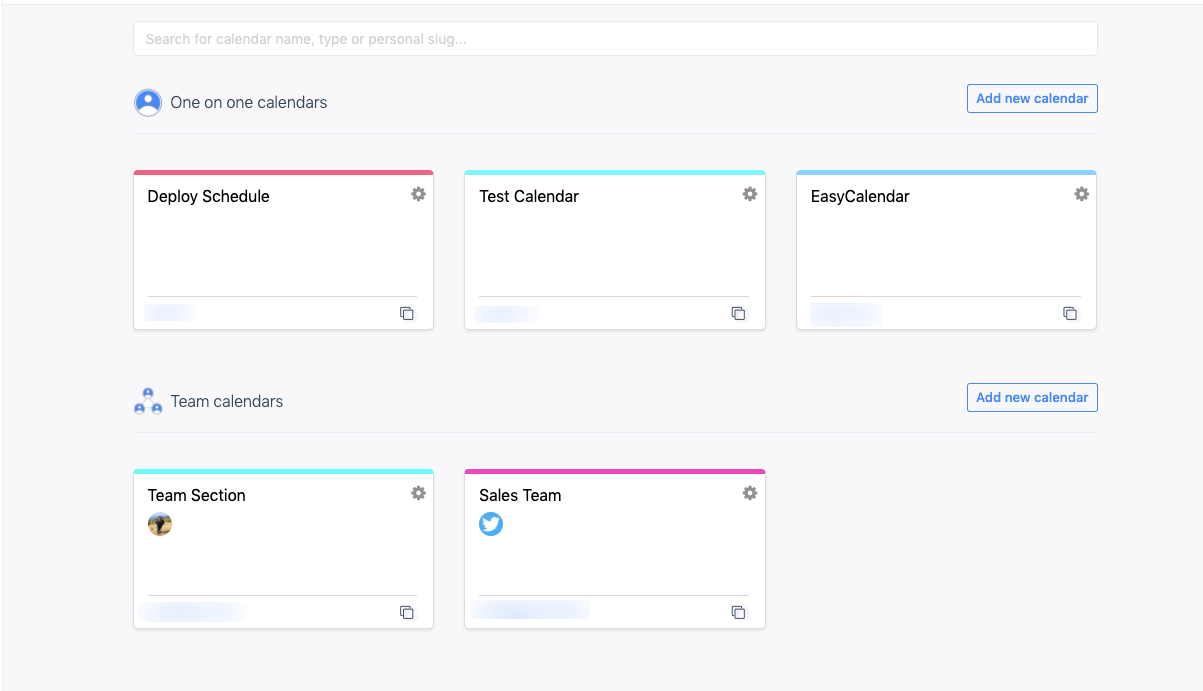
You will see all your calendars listed on the page. And You will also get an option to Add new Calendar. By clicking on the Settings icon on top right of each calendar: you can view the website widget or delete the calendar itself. Clicking on any one of the Calendar, will take you to settings page of that calendar.
Feature Buttons
On the left side of the screen, you have several buttons with their functionalities as follows:
- Calendar Link: Click on the link to book the appointments with your customers.
- General Settings: It lets you to set the settings, which include the type, name, slots, Timezone, buffer time and many more of your calendar.
- Working Hours: You can add/remove the slot according to your availability hours.
- Google Calendar: It includes Conflict Checking, Attendees and Add to google calendar. Conflict Checking to prevent multiple bookings on a same slot schedule, Attendees to help share the same appointment and Add to Google Calendar option to add the appointment in the integrated google calendar.
- Email Notification: Enable this feature to receive an email notification after scheduling an appointment. This feature is to notify the invitee for the scheduled appointment.
- Confirmation Page: It redirects you to the confirmation (selected) page after booking your appointment.
- WebHooks: Use it’s URL to fetch appointment data in real-time.
- Email Reminder: Enable the option to receive email reminders.
- Text Reminder: Enable the option to receive text reminders.
- Booking Form: Use booking form to give the customer an option to edit and enter extra details while scheduling an appointment.
Create button is at the top right corner of the screen to add new appointments.
If you have any queries or questions, feel free to ping us at : help@easycalendar.com