How to integrate Zoom account with EasyCalendar?
- Login to you EasyCalendar account.
- Head to the integration section of EasyCalendar.
- Click the Connect button on the Zoom integration card.
- The Connect Button would lead you to a Zoom sign-in page where you need to enter your login details.
- After you have successfully signed in to your Zoom account, Zoom will ask to grant access to the EasyCalendar application.
- The successful authentication to the grant request will take you back to the EasyCalendar Integration section.
How to use Zoom integration in your EasyCalendar account?
- EasyCalendar considers the user’s specification and allows the user to have multiple reflections of the appointment.
- The important point here is to mention Zoom as the location in the calendar settings section.

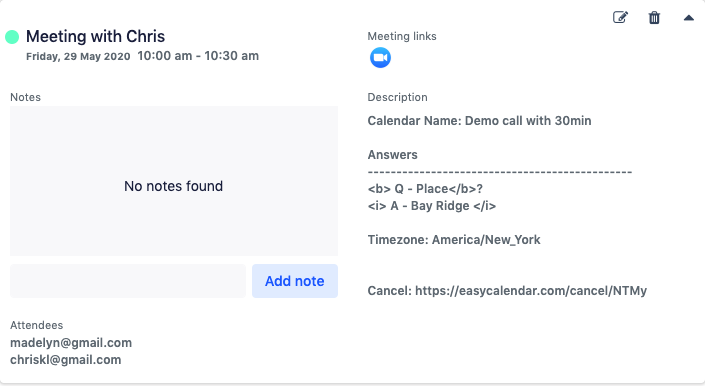
- The Zoom meeting links are a part of the user’s appointments.

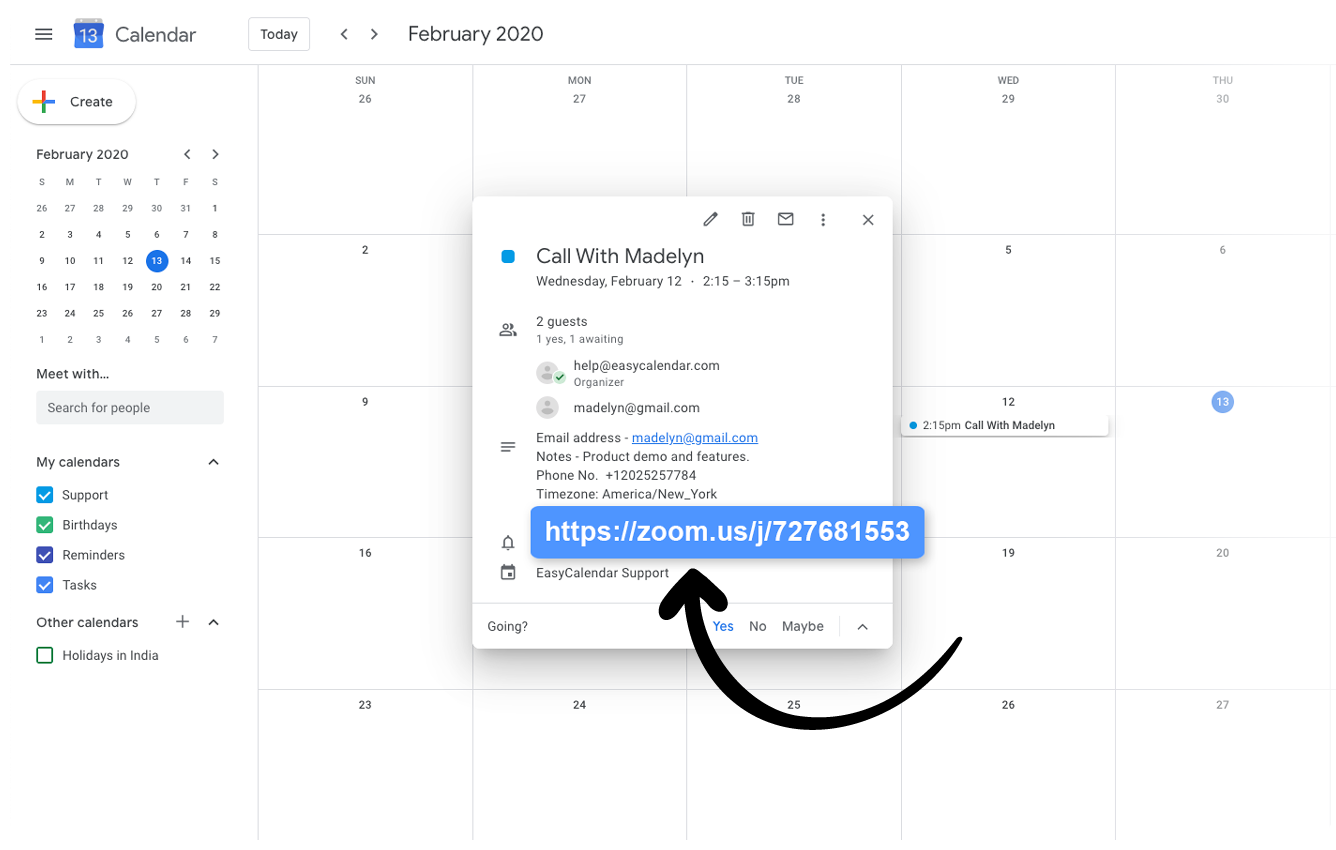
- The integrated google calendar also shows the Zoom links for the same appointment.

Remove Zoom from EasyCalendar:
The process is as simple as it could get:
- Head to the integration section on EasyCalendar.
- Click on the Active Tab on the top and look for Zoom Integration Card.
- Click on remove to remove your integration from EasyCalendar account.
- Elseways, to remove EasyCalendar app from Zoom, head over to installed apps on Zoom marketplace and click on uninstall.
Note: User information is maintained within EasyCalendar after removing Zoom from EasyCalendar Integration section. In order to get that data removed from within EasyCalendar, you need to uninstall your app from Zoom environment.
The Zoom-EasyCalendar Integration, in all, gives user the precedence required while working in a buoyant and professional department. The integration works seamlessly across several resources wisely with a single solution for video-conferencing, appointments, contacts, and calendars.
If you have any queries regarding this integration, feel free to ping us at –help@easycalendar.com or mention your comments in the comment section below.