Now, EasyCalendar has launch integration with MailChimp. MailChimp helps you optimize and enhance your marketing experience.
You can set up rules in your MailChimp integration settings, which will create automation to help you keep track of your contacts in your MailChimp account.
For instance, a person schedules an appointment with you, or someone has registered for your upcoming or currently active webinar created through Webinar Manager.
If that person is a subscriber in the audience set by you in the rule, then this will assign a new activity to that contact. Otherwise, this automation will create a new subscriber in your audience and then perform the appropriate activity assignment.
Create rules for your calendar or upcoming webinars
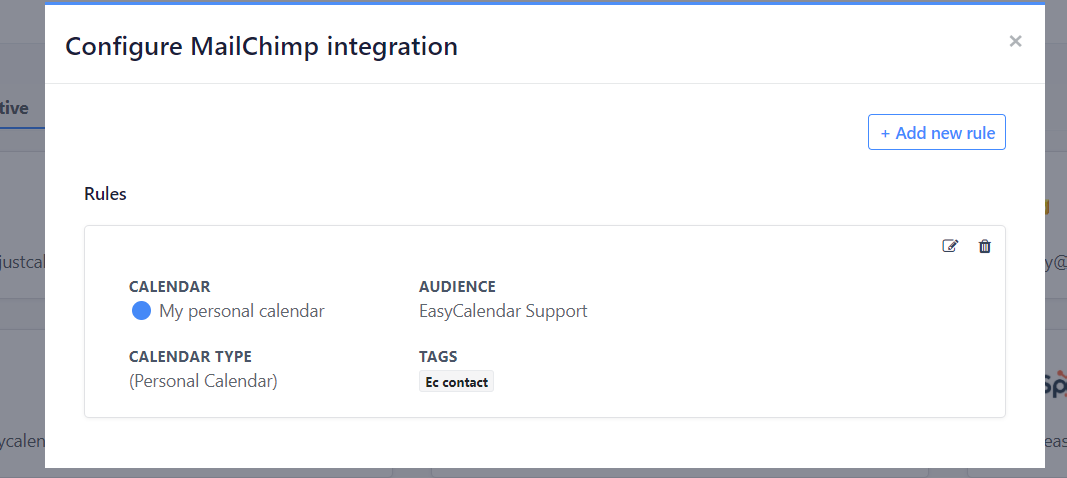
To add a rule, all you have to do is to click the Add new rule button present on the top right of the rules block, and a configuration block will appear to help you create a rule.
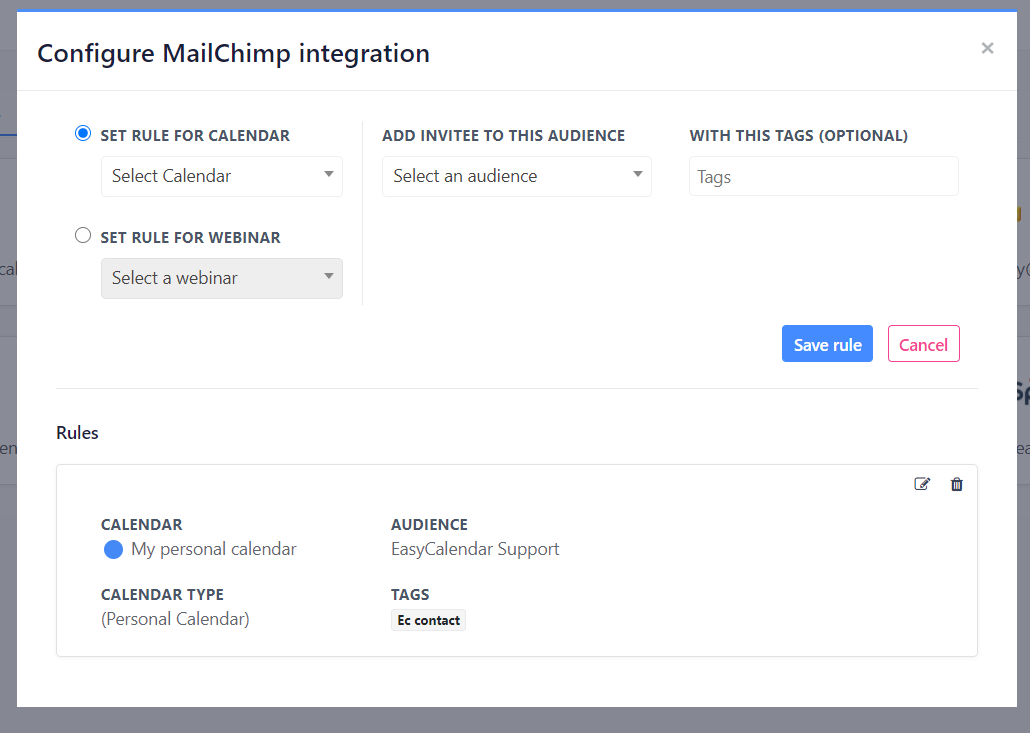
While configuring a rule, you can choose whether to assign it to a calendar or a webinar.
Your Audience and Tags will be sync from your integrated Mailchimp account.
To set an Audience for the rule, click the dropdown present below the ADD INVITEE TO THIS AUDIENCE, and select the one right for your use-case.
You can use Tags to differentiate your contacts from one another or any other way according to your use-case. If it’s required you can assign multiple Tags to a rule.
Click the dropdown below WITH THIS TAGS(OPTIONAL), and a list of active Tags from your integrated MailChimp account will appear to you.
Once you have set all the settings for your rule configuration, click the Save rule button at the bottom right, and it will add to the rules below.
Reconfigure an existing rule
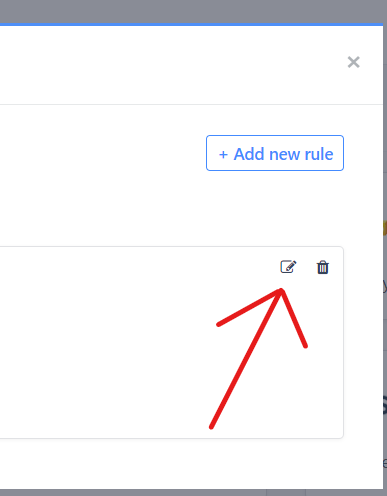
If you want to reconfigure a rule, click the edit icon present on the top right, and a card will appear with all the current settings, from there you can change the rules settings, for example, Audience, Tags, and to which you would like to assign this rule.
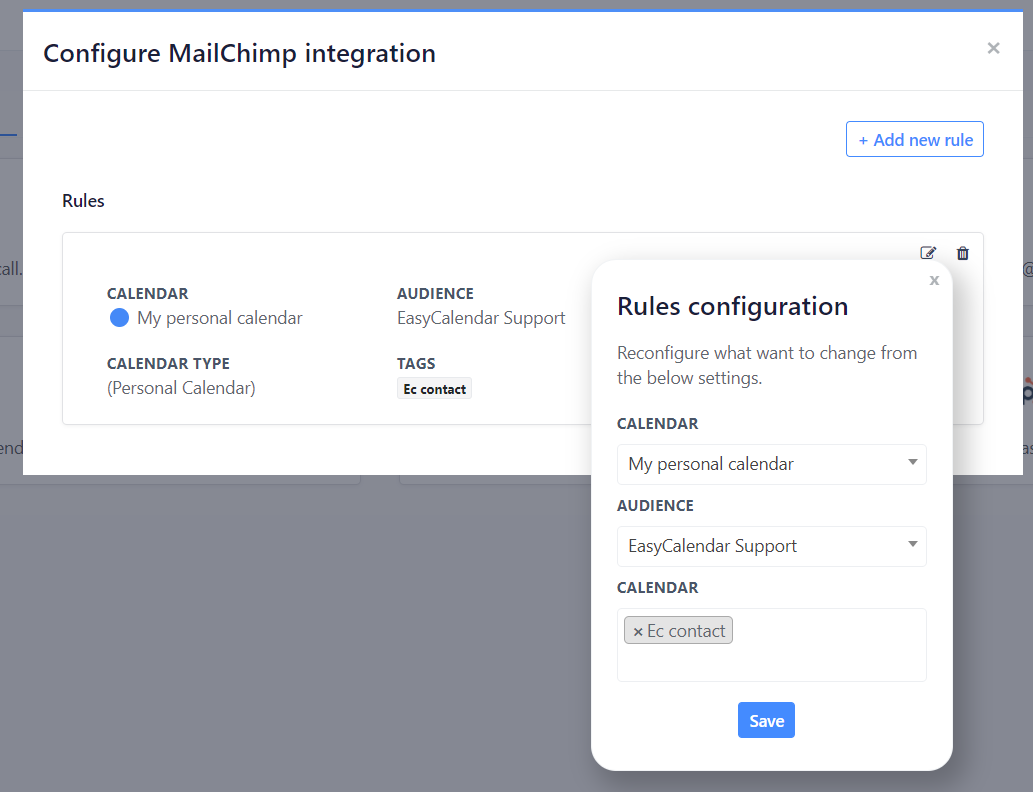
After reconfiguring the rule according to your use-case, click the Save button present on the bottom of the rule configuration card. If the reconfiguration process completes successfully will see a success message and the rule will be updated.
If you have any queries regarding this feature, feel free to ping us at help@easycalendar.com